
 Cheese calculator


 Winemaking


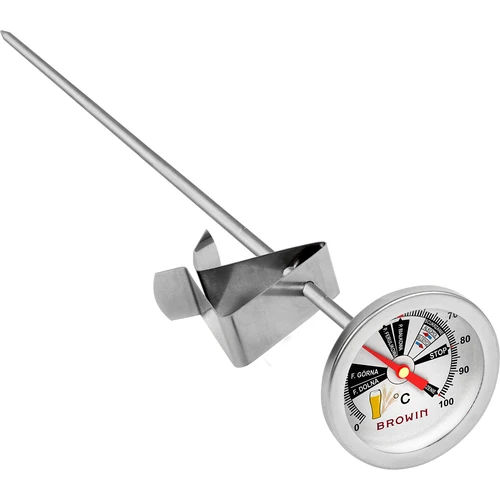
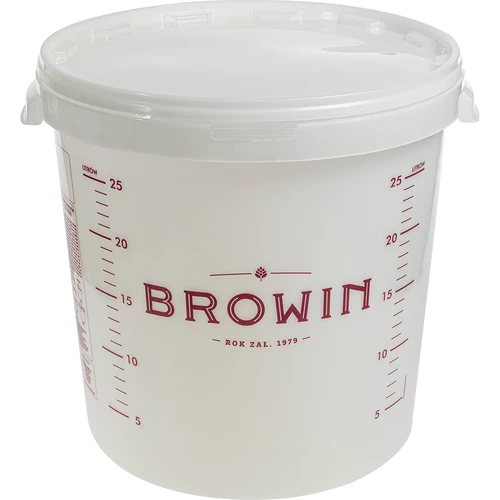
Before we get started, we need a pot of about 40 liters, a 0–100 degree brewing thermometer, a container with a filter, a starch iodine indicator and a set of ingredients: malt, hops, and yeast, depending on the chosen recipe and beer style (we will tailor the description to a pale, top‑fermented beer, about 5 kg of malt).
We start brewing by milling the malt*, that is, breaking up the grain husks. The malt must not be ground too finely into so‑called flour, which could make filtration difficult.
*You can order the malt already milled or crush it yourself in a malt mill.
In homebrewing, the infusion mashing method is most commonly used, the so‑called single‑temperature method. It is simpler and more convenient in home conditions.
That is:
Slowly pour the selected malts into a pot filled with 15 liters of water at a temperature of about 70–73 degrees. Stir so that no lumps form and the malt is evenly distributed. The temperature should stabilize at 65–67 degrees.*
Maintain this temperature for about 40–60 minutes, depending on the recipe and the type of malt. Enzymes break down starch into simple sugars, thanks to which during fermentation the yeast produce alcohol and carbon dioxide.
Mashing temperatures
Mashing can be done the so‑called lazy way (without temperature rests), keeping the temperature between 60–70 degrees. You can also mash at different temperatures using so‑called rests. First, mash at 62–65 degrees for 30–40 minutes (beta‑amylase is active), second, at 70–72 degrees, for another 30 minutes (alpha‑amylase is active) — the future beer will be fuller in flavor and richer in alcohol.
You can check the progress of mashing by performing an iodine test* using a starch iodine indicator.
*Iodine test — place a sample of the mash on a white plate and apply a few drops of starch iodine indicator. If it turns purple (a positive result), it means starch is present in the mash and the process should be continued.
If the indicator does not change color, i.e., the test is negative, mashing can be considered complete.
Raise the mash temperature to 78 degrees for about 15 minutes, to deactivate enzymes and prevent excessive mash viscosity. For lautering you can use a vessel with a false bottom or a braid filter. Place a perforated insert at the bottom of a container with a tap and slowly transfer the mash along with the grain. A filter bed will begin to form, making the wort clear. Wait about 20 minutes for the grain and bed to settle. The first few liters of runoff should be poured back into the vessel so that the wort is clear. After filtering everything, the remaining spent grain (malt) should be rinsed with water at 78 degrees to wash out the remaining sugars.
Hopping process
Return the wort to the pot and bring it to a boil. Add the planned hop additions: first for bitterness (bittering hops), then for flavor and aroma (aroma hops). Boiling with hops usually takes about 60 minutes.
*Hops can be added directly to the wort or placed in a hop bag.
Then separate the hops from the wort using a filter or by removing the bag. The hopped, sweet wort should be cooled as quickly as possible, e.g., using an immersion chiller, and aerated by continuous stirring.
Transfer the cooled wort to a sanitized fermentation vessel and add rehydrated yeast. Seal tightly and begin fermentation.
Primary (vigorous) fermentation will last about 7 days, then you can carry out secondary (quiet) fermentation. To do this, rack the young beer off the yeast sediment into a fermenter for another week or two, depending on the chosen beer style you want to obtain.
During secondary fermentation you can also dry hop the beer.
Fermentation can be finished at 0–1 degrees Blg.
Then you can bottle the beer using a bottling spigot. The bottles should be clean and sanitized. Add 4 grams of crystalline glucose to each bottle. Then cap them and leave until carbonated. Depending on the beer style, you can taste it after a week or after several months.
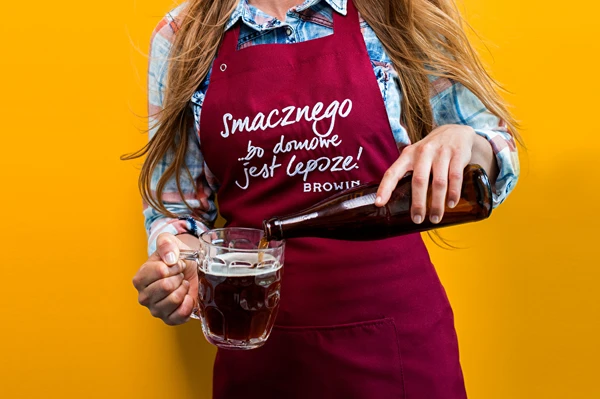
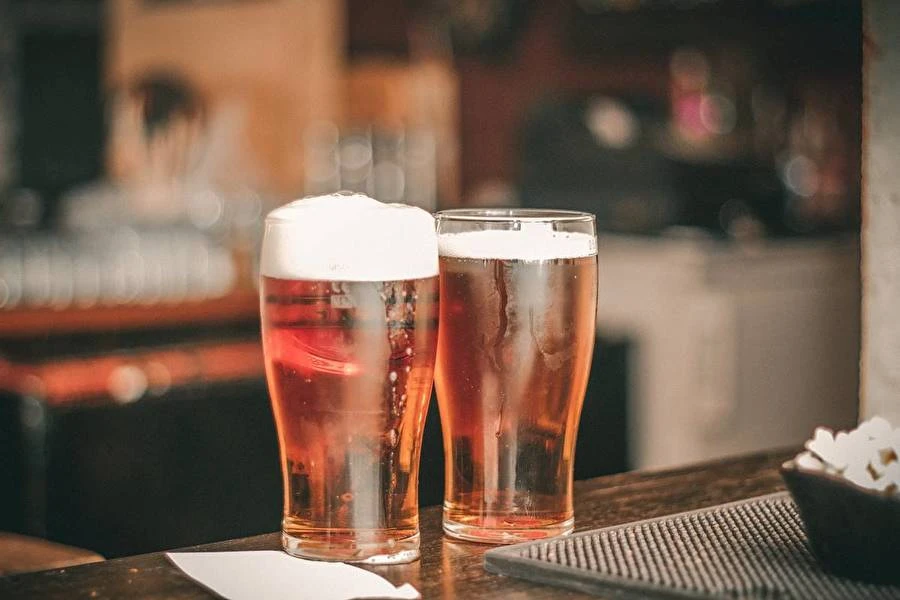
Enjoy! ...because homemade is better!