
 Cheese calculator


 Winemaking


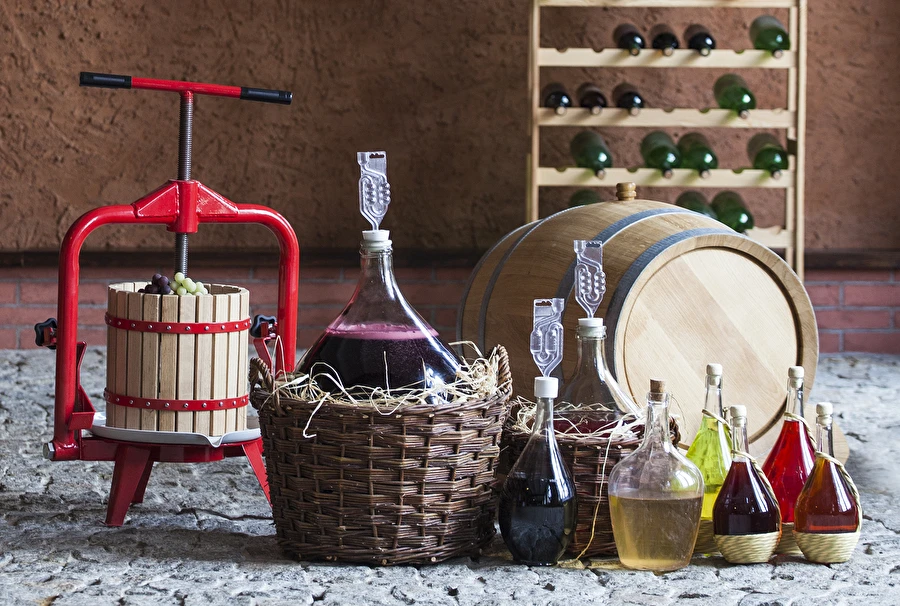
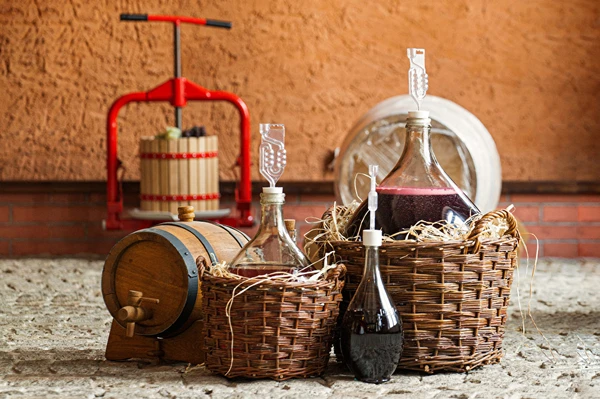
Making your own homemade wine can be divided into several stages:
Cleaning equipment
Remember that the winemaking equipment we will use should be perfectly clean and sanitized. This will prevent infections that could spoil the wine. For sanitizing winemaking equipment, use a solution of potassium metabisulfite. Do not wash carboys and other glass accessories with hot water. Excessive temperature may cause the glass to crack. Avoid wooden accessories (e.g., spoons, stirrers). They can be a source of contamination.
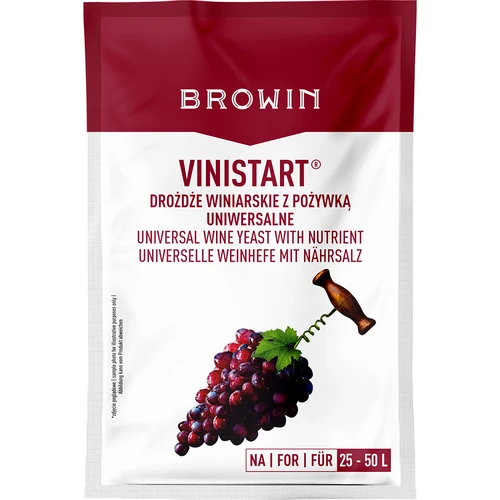
Preparing a yeast starter (starter culture).
Prepare the yeast starter 2–3 days before the planned pressing of fruit. Into a 1 L bottle, pour about 150 ml fruit juice, 300 ml water, and add 1–2 teaspoons of sugar. Cover the bottle with a cotton plug. Pasteurize for 20 minutes. After cooling to room temperature, loosen the cotton plug and add wine yeast (liquid – included in the kit). Set the bottle in a warm place (approx. 26°C). Foam on the surface and CO2 release indicate yeast propagation. After 2–3 days, pour the propagated starter into the carboy with the wine must. The prepared amount of starter should be sufficient for about 25 L of must.
Obtaining fruit must
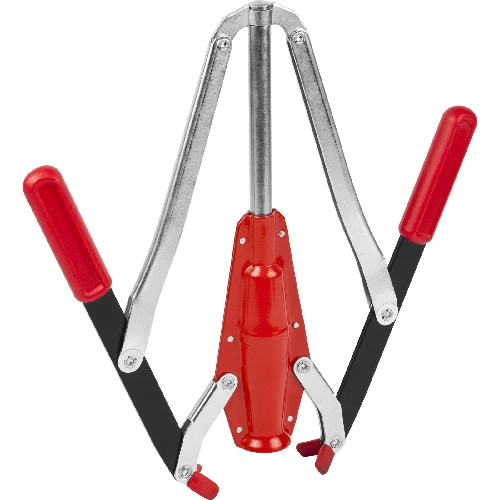
Use only healthy, ripe fruit for winemaking. Wash and sort the fruit. Remove stems and stalks. Pome fruit, e.g., apples, pears, is crushed with graters or crushers. Soft/berry fruit, e.g., strawberries, blackberries, currants, is lightly crushed. Add the Pektopol enzymatic preparation to the pulp. It facilitates releasing juice from the fruit flesh. Leave covered for several hours. To separate the released juice, use a sieve (non-metal) lined with gauze or convenient wooden presses.
Preparing the must for fermentation
For effective fermentation, the fruit must needs to be adjusted by adding water, sugar syrup, and yeast nutrient. After adjusting, pour the must into the carboy and add the previously propagated yeast starter. Finish by adding yeast nutrient. This ensures proper yeast growth, a quick start to fermentation, complete attenuation, and, as a result, the desired alcohol level and aroma of the wine. Close the prepared carboy with a stopper fitted with a fermentation airlock and set it in a warm place. Do not forget to fill the airlock with water.
Notes!
1. When adding sugar, account for the sugar content naturally present in the fruit used for your wine. Remember that 1 kg of sugar yields 0.6 L of alcohol. Always add sugar to wine in the form of cooled syrup (see Glossary). The sugar content of the must can be easily measured with a hydrometer (saccharometer).
2. Most Polish fruits contain too much acid. Adjusting the acidity of the must consists in diluting it with water. In general, calculate how much water to add to the must to reach an acidity of about 0.9%. Remember to include the water added in the sugar syrup. For more advanced winemakers, we recommend purchasing an acid meter.
3. Precise amounts of sugar (and water) to add to the must can be found in specific wine recipes. Most home winemaking manuals include detailed tables of sugar and organic acid content for various types of must.
Fermentation of the must
The fermentation process can be divided into 3 stages:
1. Initiation: lasts about 2–3 days. During this time yeast develop rapidly. Foam appears on the surface. Some winemakers recommend covering the carboy with a cotton plug during this period (it acts as a microbiological filter, limiting microorganisms, while allowing oxygen to enter, which stimulates yeast growth). Gentle rocking of the carboy is also suggested. Mixing the contents distributes the yeast evenly and improves access to oxygen and nutrients.
2. Vigorous fermentation: lasts several to a dozen or so days. Close the carboy with a stopper and airlock. The amount of sugar in the must decreases while the alcohol level rises (yeast “convert” sugar into alcohol and carbon dioxide). The must foams very intensely. Its temperature rises. Note! Yeast die at temperatures higher than 28°C. If the yeast die, fermentation will stop. Take care (e.g., on hot summer days) not to overheat the must. The end of vigorous fermentation is the right moment to add further portions of sugar and nutrients (if you plan a sweeter wine and, based on the recipe, intended to add sugar to the must in several portions).
3. After-fermentation (also called quiet fermentation). The intensity of reactions decreases. Little carbon dioxide is released, the foam disappears, dead yeast accumulate on the bottom of the carboy, and the liquid begins to clear.
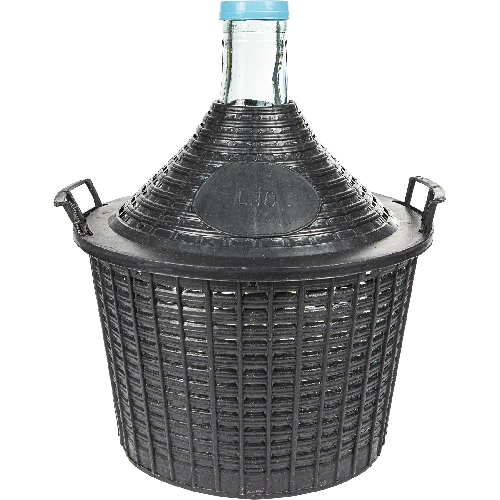
Racking young wine
The cessation of carbon dioxide release and the appearance of yeast sediment on the bottom of the carboy indicate the end of fermentation. It is time to rack the (young) wine off the lees. Leaving the wine in the carboy can cause cloudiness, color change, and flavor deterioration. Light wines require the quickest first racking, especially if fermentation was carried out at a high temperature. As a guideline, rack the wine off the lees:
· for light wines: in weeks 3–5,
· for medium-strength (table) wines: in weeks 4–5,
· for strong (dessert) wines: in weeks 8–14.
Use a special siphon hose equipped with a clamp, a glass tube with a side opening (to prevent drawing in sediment from the bottom), and optionally a pump. Place the carboy with wine higher than the vessel you will rack into (ideally the same or slightly smaller capacity). Start the siphon and direct the end of the hose into the lower vessel. Observe strict cleanliness—the young wine can easily become contaminated. This is a good moment to check the taste of the wine and make possible adjustments (adding sugar, honey, fruit juice, citric acid). Cover the racked wine with a stopper and airlock and set it in a dark, not too warm place (around 21°C). After several weeks, check whether the wine has become clearer and whether a new deposit of dead yeast has formed on the bottom. If the sediment is clearly visible, it is worth racking again. You can rack several times until full clarity is achieved. However, remember that every contact of wine with air carries a risk of contamination.
Wine maturation
Wine maturation improves its taste and aroma and should also stabilize clarity. The wine can mature in the same vessels in which it fermented. Simply top up the carboys to the brim with wine and seal tightly with a stopper. Maturation time depends on the type of wine. Light wines are ready to drink after 1–2 months, table wines should mature for half a year, and dessert wines are best only after 2–3 years.
Filtering and clarifying wine
If the wine has not cleared on its own, help it achieve the desired clarity and color. Sometimes it is enough to filter the wine through a funnel (line the funnel with cloth, cotton wool, or special filter papers) to remove haze. You can also remove haze simply and effectively by using fining agents. Carry out fining at the lowest possible temperature. Also remember to perform a preliminary fining test (on a small amount of wine). By observing the reaction, you can choose the appropriate type and dose of fining agent. The most popular and, in the vast majority of cases, effective product is Klarowin. Add 5–20 g of Klarowin per 10 L of wine. It is a very safe and natural agent. Other known fining agents include: acid gelatin (1–2 g per 10 L of wine), tannin (0.5–1 g per 10 L), activated carbon (2–20 g per 10 L of wine).
Bottling wine
When the wine is fully clear and mature, you can bottle it. Bottles intended for wine storage (it is recommended to use dark glass bottles) should be thoroughly washed. You can sanitize them with 70% ethanol or use a 2–3% solution of potassium metabisulfite (dissolve 20–30 g metabisulfite in 1 L of water). Use new corks to close the bottles (old ones may be contaminated and impregnated with foreign odors). We recommend small, convenient corkers available on the market, which make closing dozens of bottles quickly no problem. You can label the bottles with special labels on which you write the type of wine, its vintage, and strength.
Cellaring wine
Store wine bottles on their sides (the cork fully submerged in wine) at 10–12°C. Properly prepared wine can be cellared for several years. Periodically check whether corks are not leaking. The cellaring time depends on the type of wine. Light wines are cellared for a shorter time, strong ones longer.
Stabilizing wine
Fully mature wine (properly prepared and stored) generally does not require stabilization. Sometimes, however, wine becomes cloudy. This problem most often concerns young wines containing less than 14% alcohol. Wine can be stabilized by:
1. sulfiting: add potassium metabisulfite (2–3 g per 10 L of wine) to the carboy, mix thoroughly, then filter the wine and bottle.
2. pasteurization: heat bottles with wine at 72–74°C for about 30 minutes. Remember not to fill bottles to the very top and to secure corks with wire or clips (as heated wine expands and may push corks out). The bottles should be immersed in water to a level above the surface of the wine.
3. increasing alcohol content: rectified spirit strongly preserves wine. To increase the alcohol level in wine by 3%, add 3×12 ml (36 ml) of 96% rectified spirit per liter of wine.
PROBLEMS WITH WINE
It may happen that despite your efforts the resulting wine does not meet expectations—it has an improper color, aroma, or taste. We then speak of faults or wine diseases. The most common faults include:
too low acidity of the wine — add citric acid or blend the wine with a more acidic one.
too high acidity — blend with a less acidic wine, or add sugar, water, and yeast and try to ferment the wine again.
too low strength — (the wine contains too little alcohol) add a new, reinforced wine yeast starter and attempt a repeat fermentation at a slightly higher temperature of 22–24°C.
browning of the wine — cellar the wine longer, then fine and filter it; you can also pasteurize the wine or try sulfiting (add 0.5–2 g of potassium metabisulfite per 10 liters of wine).
lack of clarity — fine the wine with Klarowin; you can also add rectified spirit to the wine or transfer it to a heavily sulfited vessel.
The above-mentioned wine faults are relatively minor and easy to remove. The situation becomes complicated when we are dealing with wine diseases. If cleanliness and the other rules given in this guide are observed, the likelihood of their occurrence is minimal.
YOUR OWN COMPOSITION
In the table below you will find a summary of ingredient proportions for fermentation in a 30 L fermenter. The calculations assume average sugar and acid contents for the respective fruits. Depending on cultivar, growing region, and sun exposure, the same fruits may contain somewhat less or more sugar or acids. Therefore, to determine their content precisely, we recommend measuring with a hydrometer and an acid meter. As you gain experience, you will decide for yourselves what proportions to use when making wine from your own fruit. Remember that when racking wine off the lees you always have the option to make corrections by adding, as needed, sugar, water, or an acidity regulator.