
 Cheese calculator


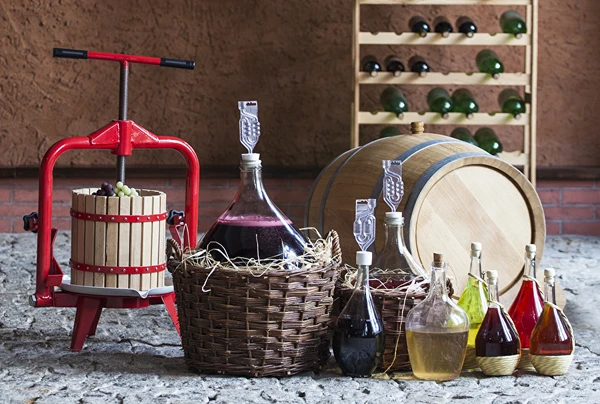
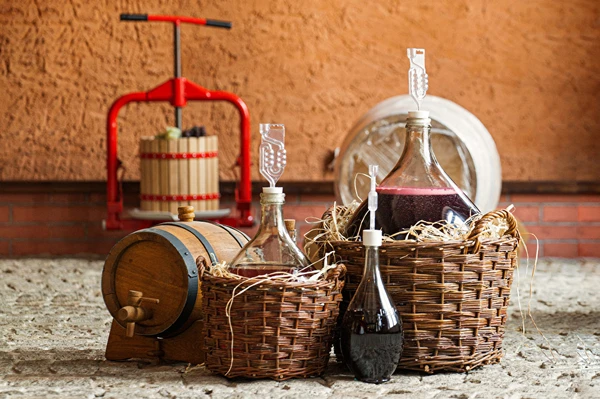
 Winemaking


A very important stage of homemade wine production is corking the bottles and aging (maturing the beverage). The bouquet and taste of the wine do not depend only on the fermentation carried out, but to a large extent also on the quality of the corks and the method used to cork the bottles.
We distinguish two types of corks: natural (solid, agglomerated, layered) and synthetic corks. They come in different shapes (cylindrical, conical) and forms (e.g., mushroom-type and decorative stoppers). Synthetic corks are ready to use right away, whereas natural corks should be properly prepared before you start corking.
They are intended for corking wines meant for quick consumption, not for long-term aging. The contact area of this type of cork with the bottle neck is too small to ensure long-term protection of the wine. Using a corker is not required—the cork is pressed in by hand.
At home, it is sufficient to immerse this type of corks for about 5 minutes in hot water or place them under a cover over boiling water. This will sterilize them and make them more pliable, which makes bottling easier. Remember not to “moisten” the corks for too long, as this may cause their damage.
They do not require special preparation; they can be disinfected by scalding or rinsing with potassium metabisulfite. They are suitable mainly for young wines. It is advisable to replace this type of cork once every two years.
1. Preparing the bottles
To avoid various types of contamination, before you start corking, wash the bottles thoroughly using a bottle brush and dishwashing liquid, then rinse well. If you want to be 100% sure of cleanliness, you can sterilize by boiling in water at a temp. of 80⁰C for about 10 minutes, or by rinsing with a potassium metabisulfite solution.
2. Filling the bottles
During filling, pay special attention to minimizing aeration of the wine. A racking hose and a funnel will make this easier. Also remember to leave about 4–5 cm of empty space below the rim of the bottle neck.
3. Corking
Tapered corks are placed on the bottle neck and then pressed in by hand or using a corker (selected from the available models).
Cylindrical corks are inserted into bottles after proper preparation; using a corker is necessary. If you need to cork no more than 30 bottles, it is enough to use the simplest hand corker in the form of a sleeve. For larger quantities of bottles, 2–3-arm corkers will be the most useful—they require less force and at the same time allow you to increase corking speed.
After corking, the bottles should remain upright for one day. This will allow the cork to adjust to the inner wall of the bottle neck. Then lay the bottles horizontally, which prevents the cork from drying out (the wine “washes” the cork) and ensures proper gas exchange between the inside of the bottle and the surroundings. After two or three days, check whether the corks are leaking. If leakage appears, the cork must be replaced with a new one.
Selection table of corkers for corks used with typical wine bottles ( * means that the given corker is dedicated to the specified type of corks):
4. Decorating
The finishing touch to the corking process is applying heat-shrink capsules. There are several ways to shrink capsules onto bottle necks. You can use a special device (a professional shrinker) or use one of the home methods:
- immerse the bottle neck with the capsule applied in a vessel with hot water (caution—using boiling water may damage the capsule!);
- hold the bottle necks with the capsule applied over a stream of steam coming, for example, from a kettle;
- heat a standing bottle with the capsule applied using a hair dryer from all sides—until the capsule conforms to the bottle neck.
Using a colored capsule improves the appearance of the bottle and protects the cork, allowing the wine to age longer. It is also worth using self-adhesive labels for bottles, enabling you to note the type, vintage, and other such useful information.
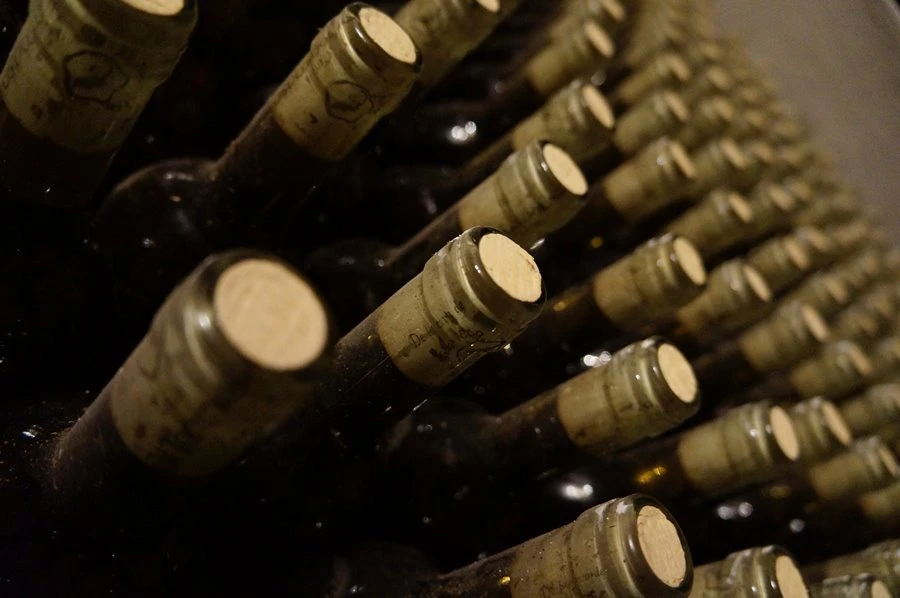
STORAGE / AGING OF WINE
Bottles of wine, tightly corked and labeled with information, should be stored in a dry room with limited light access and at a temperature of 10–15°C.
It is best when the bottles age on racks designed specifically for this purpose.
Each type of wine requires conditions appropriate to it. Red wines age best at 15–18°C, white wines at 10–15°C, and rosé at 9–10°C. Sparkling wines require the lowest temperature: 6–9°C. In a wine cellar, the optimal air humidity should be 65–80%. Too low a humidity causes corks in bottles to shrink and air to enter them. This results in a change in the taste of the wine and even its spoilage. Conversely, too high a humidity risks the appearance of, for example, mold.
During storage, further changes will occur that make up the wine aging process.