
 Cheese calculator


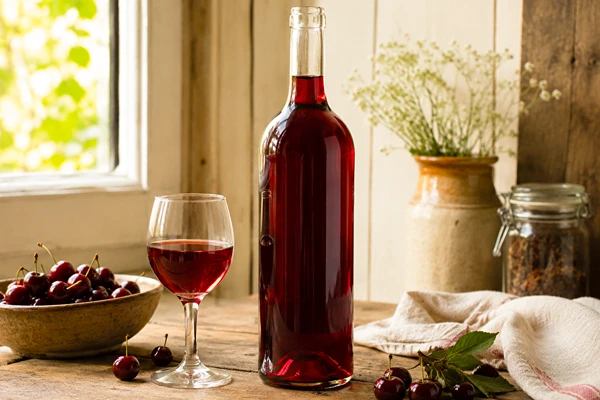
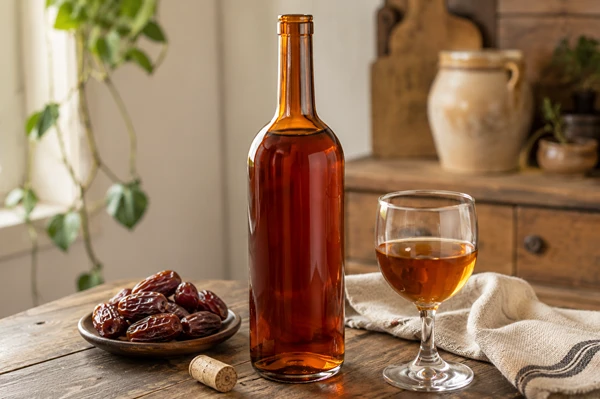
 Winemaking


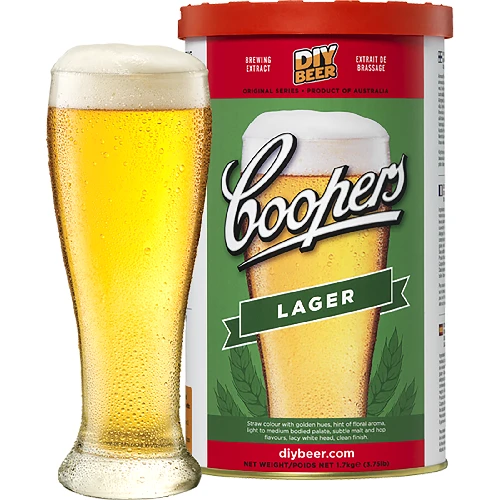
Homemade Lager Beer Recipe
Preparation:
Mill the malt to break up the grain and crack the husks. You can order it pre-crushed or crush it yourself using a professional grain mill (if you don’t have access to a mill, you can crush it using a coffee grinder). Pour 14 liters of water into a 40-liter pot, heat to 65°C. Add the crushed malt, stir with a long plastic spoon, distributing the malt evenly in the water. Set the temperature to 61–63°C. At this temperature, mash for 30–60 minutes.
**At the start of mashing, take a mash sample on a white plate – add a drop of iodine starch indicator – the starch contained in the malt will turn purple. Continue mashing until the so-called negative iodine test – that is, no coloration of the indicator.
Raise the temperature to 72°C, maintaining it for another 30 minutes. In the meantime, check the degree of starch breakdown using the dye. Thanks to the temperature changes, the starch will break down faster, the mash will be less sticky and will clarify more easily. The iodine starch indicator should not change color (it will not turn purple). Then the mashing process can be considered finished. After the specified time, raise the temperature to 78°C, leave for 10 minutes, stirring from time to time to prevent scorching of the mash.
The next step is wort filtration. Carefully transfer the mash to a 30-liter filtration vessel. Wait a moment to form the so-called filter bed. Then filter the mash through a funnel with cheesecloth/sieve or use a braid filter placed in the vessel to separate the spent grain from the wort. Once most of the wort has been filtered, you need to sparge the resulting grain bed, i.e., pour water at about 80°C over it to rinse out the sugars remaining after mashing. Carry out sparging with 10–12 liters of water. Boil off any excess water during hopping. You can check the sugar level with a hydrometer.
Wort hopping – 60 minutes
The next stage is hopping the wort. Place everything in a pot and bring to a boil. Add the specified dose of bittering hops – MARYNKA – slowly due to the possibility of the solution boiling over. Do not cover the pot; the wort should evaporate. After 45 minutes, add the specified amount of aroma hops – LUBELSKI. After 15 minutes (60 minutes total) the hopping is finished. For hopping you can use a hop bag, placing the hops in it so they are not directly in the wort. If you boil the hops directly in the wort, after hopping you should strain them out, separating them from the wort using a sieve or a braid filter. Vigorously stir the clear wort to aerate it, and then chill it as quickly as possible. The best tool for this is an immersion chiller.
Next, measure the sugar level with a hydrometer.
The wort should be about 12 – 15°BLG. In the meantime, you can prepare the yeast. Place the contents of the sachet in water at about 25°C. Leave for about 20 – 30 minutes to rehydrate. After the wort has cooled to 15°C, add the yeast. Seal the fermenter tightly and fit an airlock half-filled with water. Fermentation should proceed at about 6–10°C – these are the best conditions for bottom-fermenting yeast. Because it is difficult to achieve this temperature at home, you can raise it to a maximum of 18°C; however, it is recommended to keep it lower to preserve the appropriate aromas and ensure proper attenuation of the beer. The best beer comes out when fermented at 10°C.
After primary (vigorous) fermentation, rack the young beer to secondary (quiet) fermentation. Its purpose is to clarify and mature the beer. Siphon the liquid off the yeast using a hose into a second fermentation vessel. The hose should be submerged appropriately in the beer to avoid aeration and contamination. After transferring, seal the container tightly and leave for another 7 days at the same temperature. During secondary fermentation you no longer need to use an airlock. During this time, take a beer sample. The hydrometer should read 2–4°Blg, which means primary fermentation has finished. After a week you can bottle the beer. To do this, add about 6 grams of glucose per liter of beer so it is nicely carbonated. Wash and sanitize each bottle and the caps thoroughly using potassium metabisulfite. You can dissolve the sugar in a small amount of water and add it to the entire batch. For 20 liters of beer you need about 150 grams of glucose. You can also add the sugar in the correct amount using a sugar doser, directly into each bottle – 3 grams per each 0.5 liters of beer. Close the bottles using a capper.
After about 4 weeks, the beer should be well carbonated. In practice, the beer’s “lagering” time depends on the type of beer. We recommend tasting one bottle from time to time and checking when the beer starts to taste best.
How to vary the flavor?
During secondary fermentation you can add some ginger, honey, or raspberry syrup to the beer. This will change the flavor to suit various tastes. According to the standard recipe, you will get a “pale lager.” We recommend trying different amounts and types of hops, different malts, and additions so that your beer is distinctive.
Note:
1. WARNING! All equipment should be properly sanitized and cleaned. For this purpose, use potassium metabisulfite according to the instructions on the package.
2. WARNING! Fermentation should proceed at about 6–13°C – these are the best conditions for bottom-fermenting yeast.
Because it is difficult to achieve this temperature at home, you can raise it to a maximum of 21°C; however, we recommend keeping it lower to preserve the appropriate aromas and to ensure proper attenuation of the beer.